


Original article posted December 30, 2016 - Updated June 7, 2021
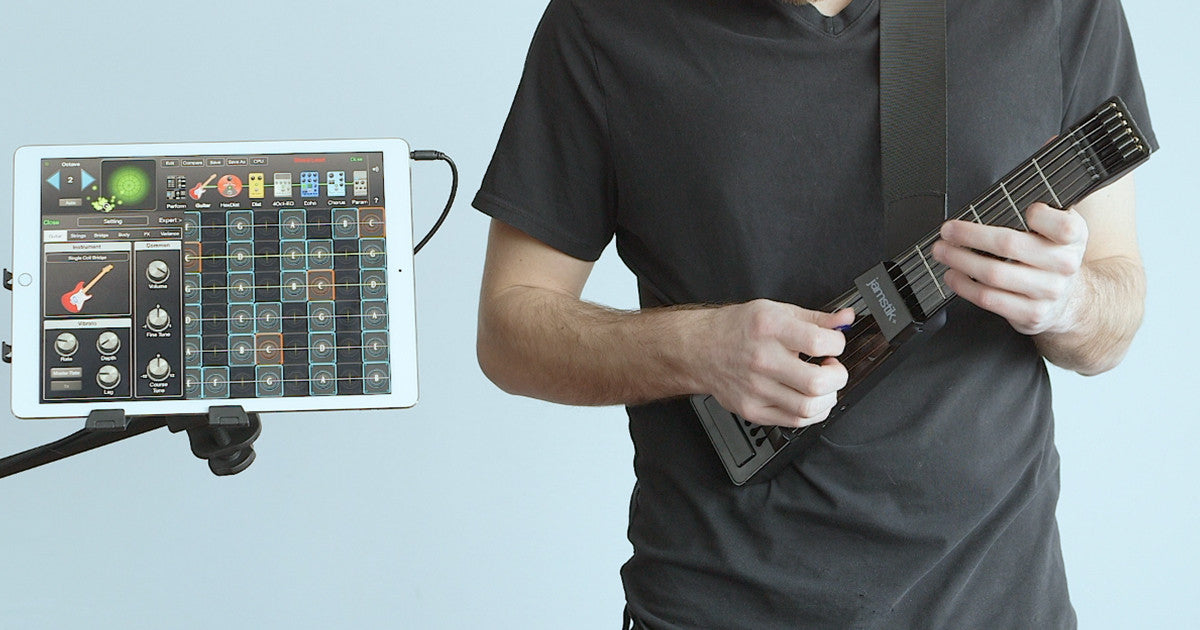
Exploring the world of iOS music production? Look no further than GeoShred—a highly expressive and creative software instrument housed in a sleek iOS app. Its high-quality sound selection and versatile external MIDI support make it a perfect companion app for your Jamstik!
The app is a seriously impressive fusion of Wizdom Music's Geo Synthesizer, MoForte Guitar's powerful, modeled guitar and effects chain, and Jordan Rudess' user interface.
With GeoShred’s physical modeling synthesis, you can achieve realistic guitar sounds that bend, stretch and manipulate the sound into endless possibilities.
GeoShred Pro Version 5 is an exciting update, now with In-App-Purchases for GeoSWAM instruments on devices running iOS 11.4 or higher. Download the iOS app from the iTunes store and try it out with your Jamstik! Make sure to tag us in your creations using the hashtags #Jamstik and #GeoShred
Jamstik Setup Instructions with GeoShred for iOS
Jamstik GT or Jamstik+ Users:
GeoShred has kindly provided a pre-configured MIDI profile, which is selectable from the configurations dropdown as "Jamstik+".
Jamstik Studio MIDI Guitar Users:
Before launching the app, make sure your Jamstik Studio is charged and that the firmware is set to operate in MPE mode. Now, let’s open GeoShred.
First, let’s make a slight modification to the MPE MIDI configuration to better accommodate the Jamstik Studio. With GeoShred open, tap the settings icon (three dots) in the upper right.
Now, under ‘Global’, select ‘MIDI’.

In the MIDI configurations window, select ‘Edit’, then ‘MPE Channel Mode’.
Now, scroll down to ‘MIDI in’ and change the ‘Pitch Bend Range’ from 48 to 4.

Lastly, jump back to the MIDI configurations window and hit the Bluetooth icon.
Assuming your Jamstik Studio is turned on, find it in the devices list and tap it to connect.

Jamstik X GeoShred Demo Videos:
Leave a comment
Comments will be approved before showing up.
Also in Jamstik Blog


We’re Live on Kickstarter: Meet the Jamstik Core
The Jamstik Core Kickstarter campaign is officially live on Kickstarter! If you’ve been waiting for a high-performance, affordable, plug-and-play electric MIDI guitar, this is it.


Using a Jamstik MIDI Guitar with Analog Hardware

