Revolutionize boring GarageBand tracks with killer drum samples
Apple's GarageBand for iOS is a pretty powerful piece of software for something that's available on every iPhone on planet earth. Business analyst and Apple commentator Ben Thompson remarked in his Exponent podcast that making GarageBand for iOS represented a personal quest of Steve Jobs. Introducing GarageBand during the iPad 2 keynote in 2011 (which would also be Jobs' last keynote address) was an achievement of note. GarageBand makes tools that were previously only available to "professional" software users available to the masses. To date, there are many analysts who would tell you GarageBand is the most installed music creation software worldwide.
GarageBand is amazing, and GarageBand is dated...
For all of GarageBand's amazing features and improvements—from Instruments, Drummer, Live Loops, and audio recording and mixing—there is one place where some discriminating users believe GarageBand falls flat quickly; drum sounds. It's not necessarily GarageBand's fault, drum sounds are typically the one sonic hallmark that changes the fastest in popular music styles. Last year's kicks and snare samples sound dated next to this week's latest releases. Drum sounds are really dynamic, and the dimensionality of the sound can really expose whether or not your tools are making the grade. GarageBand has done much better with the introduction of Live Loops and the Drummer feature (from Logic Pro X) - but if you have drum sample libraries (or you want to use sample libraries in GarageBand) you already know how flat the stock offerings can be.
AudioUnit Extensions can work like DAW plugins! Say what?!
The good news is, you're not stuck with the stock stuff. Did you know there are ways to incorporate using your own custom drum samples in GarageBand? Yes, you can already import whole loops into an audio track, but what if you want to play a sampled kit MPC-style? Believe it or not, it's possible. Using a little-known piece of tech called "AudioUnit Extensions" and a third party app from UVI, we're going to drop some fire into your GarageBand workflow.
Apple developed AudioUnit Extensions as a means of using third party apps within GarageBand. AudioUnit Extensions aren't yet as popular as InterApp Audio or Audiobus enabled apps (which rely on tapping the audio output of one app and routing it to an input in GarageBand,) but AudioUnit Extensions make some features available that allow third party apps to work sort of like virtual instrument plugins in your favorite DAWs.
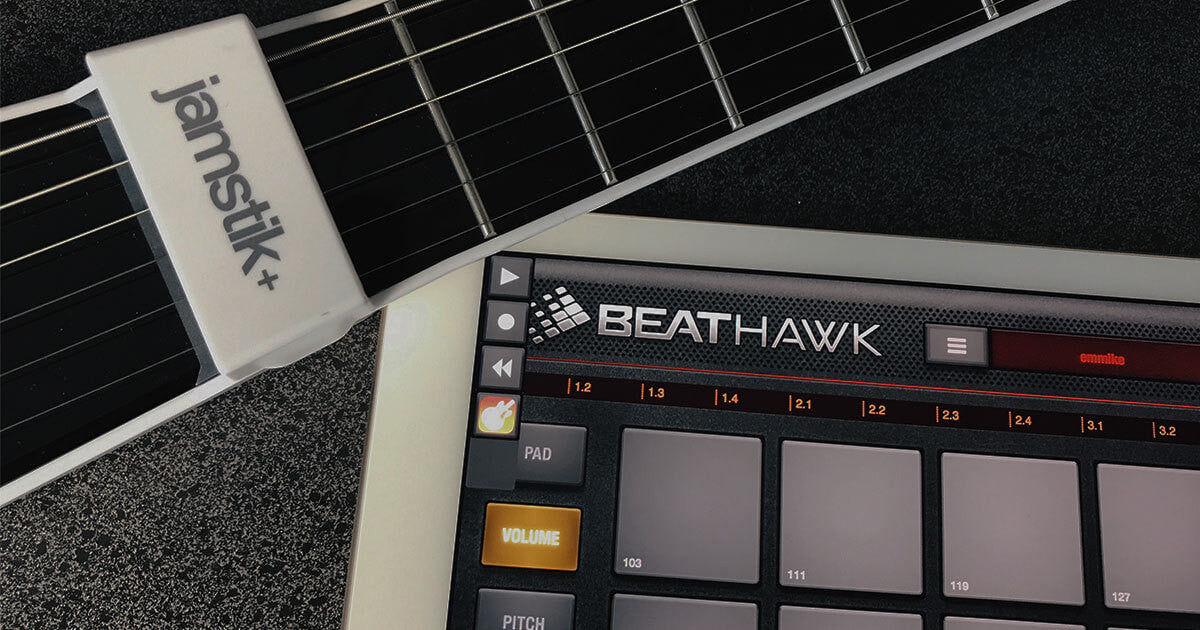
This blog is going to walk through a specific AudioUnit Extension enabled app, UVI's BeatHawk, to play new drum sounds in GarageBand like a software plugin.
We'll also show how AudioUnit Extensions allow you the same flexibility to edit (can you say "quantize?") and filter after the performance. This is a HUGE advantage over InterAppAudio if you've ever worked with it! BeatHawk has a number of great drum and sound sample packs as well as its own ability to import samples and save whole folders of samples and settings. UVI has made sample collections and virtual instruments for years and has made some of their best stuff available as In-App purchases in BeatHawk. If you don't already own BeatHawk for iOS, you'll want to check it out on the App Store — It's available for iPhone & iPad for $9.99
Quit playing with me! Show me how to use UVI's BeatHawk as an AudioUnit Extension in GB
Ok, so start a new GarageBand song and add a new instrument track.
In the instrument chooser, swipe to External and select AudioUnit.
The available AudioUnit apps will be displayed. As you can see, there isn't a huge variety of apps available here, but we're only concerned with one - BeatHawk.
I'll select it and we'll be greeted with what looks like a hybrid of GarageBand's keyboard screen with a mini-BeatHawk interface in the top window. Here's where things get interesting. To demonstrate the workflow in the easiest method first, we'll load a whole drum kit from the BeatHawk library.
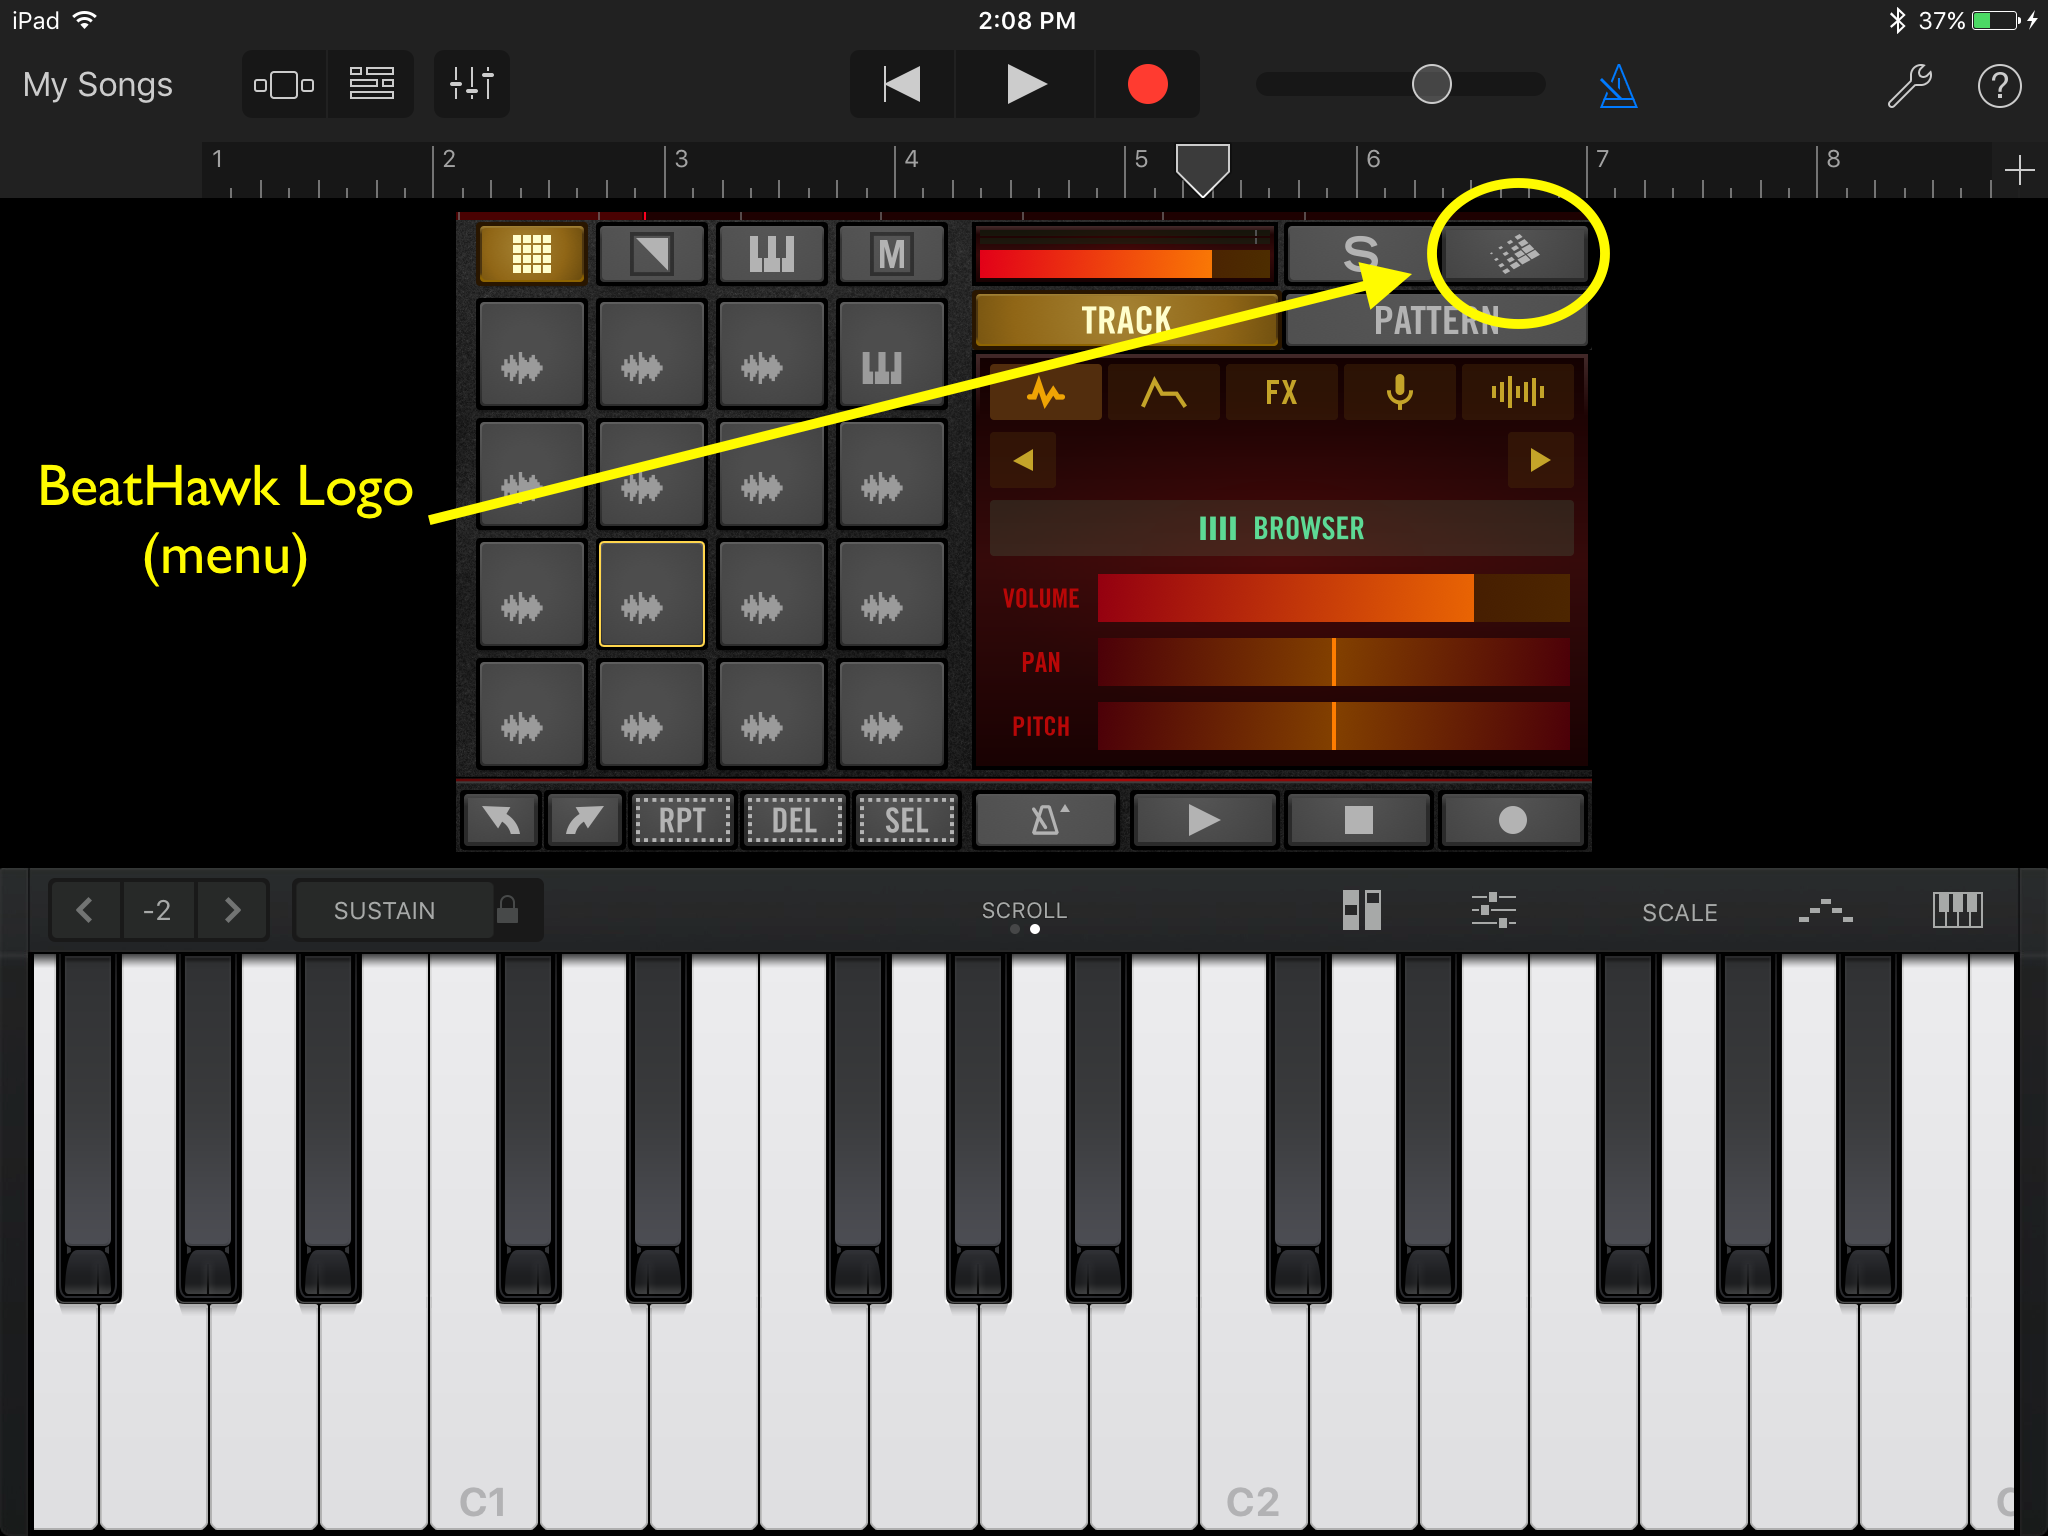
In the top right corner, you'll see the BeatHawk logo, select it and a load menu will appear. Select "Load Project/Kit..."
Your selection options will change, and to load a kit cold select "Factory Songs" and pick a kit.
The top bar has two additional options; LOAD KIT and LOAD ALL. Select "LOAD KIT." A warning will appear letting you know "Unsaved changes on current project will be lost." Select "LOAD." The Drum Kit will then load.
// If you're not familiar with BeatHawk, the icons appearing on the 16-pad interface might look confusing. There are symbols that look like waveforms and symbols that look like keyboards. The waveform icons indicate there is a single sample loaded into that location. The keyboard icons indicate that there is a sampler patch loaded into that location. It might be slightly confusing, but BeatHawk uses the 16-pad interface as both play surface AND sequencer track selector. If you select a pad and then select the keyboard icon in the top bar you'll reveal an underlying MIDI keyboard. The single sample is mapped over the entire MIDI key range, and the sampler patches are mapped as well. For now, we're only going to focus on the single sample pads to keep things easy to understand. //
The key mapping in BeatHawk is not random, but it seems like it is if you're in the wrong octave. Drop the jamstik+ down an octave and you'll quickly find that BeatHawk's 16 pads are mapped chromatically from C1. Depending on where the samples are assigned you may have to familiarize yourself as to where the Kick, Snare, Hats, and other samples are mapped.
Now you can record and edit this track just like you've done in GarageBand for forever. Seriously. You can record a track, quantize or transpose it, or edit the notes in the editor. If you wanted to, you can step enter the notes in the editor too.
"I don't wanna use the amazing UVI sounds. I want to import my samples into BeatHawk!" Rolling your own drum kit samples in BeatHawk using iTunes File Sharing
Ok, now let's build our own drum kit in BeatHawk. If you don't already have custom samples you want to import into BeatHawk, you can (and maybe you should) use BeatHawk's In-App store (accessible through the Browser button) to download some of UVI's fantastic expansion packs. They're great tools for music making.
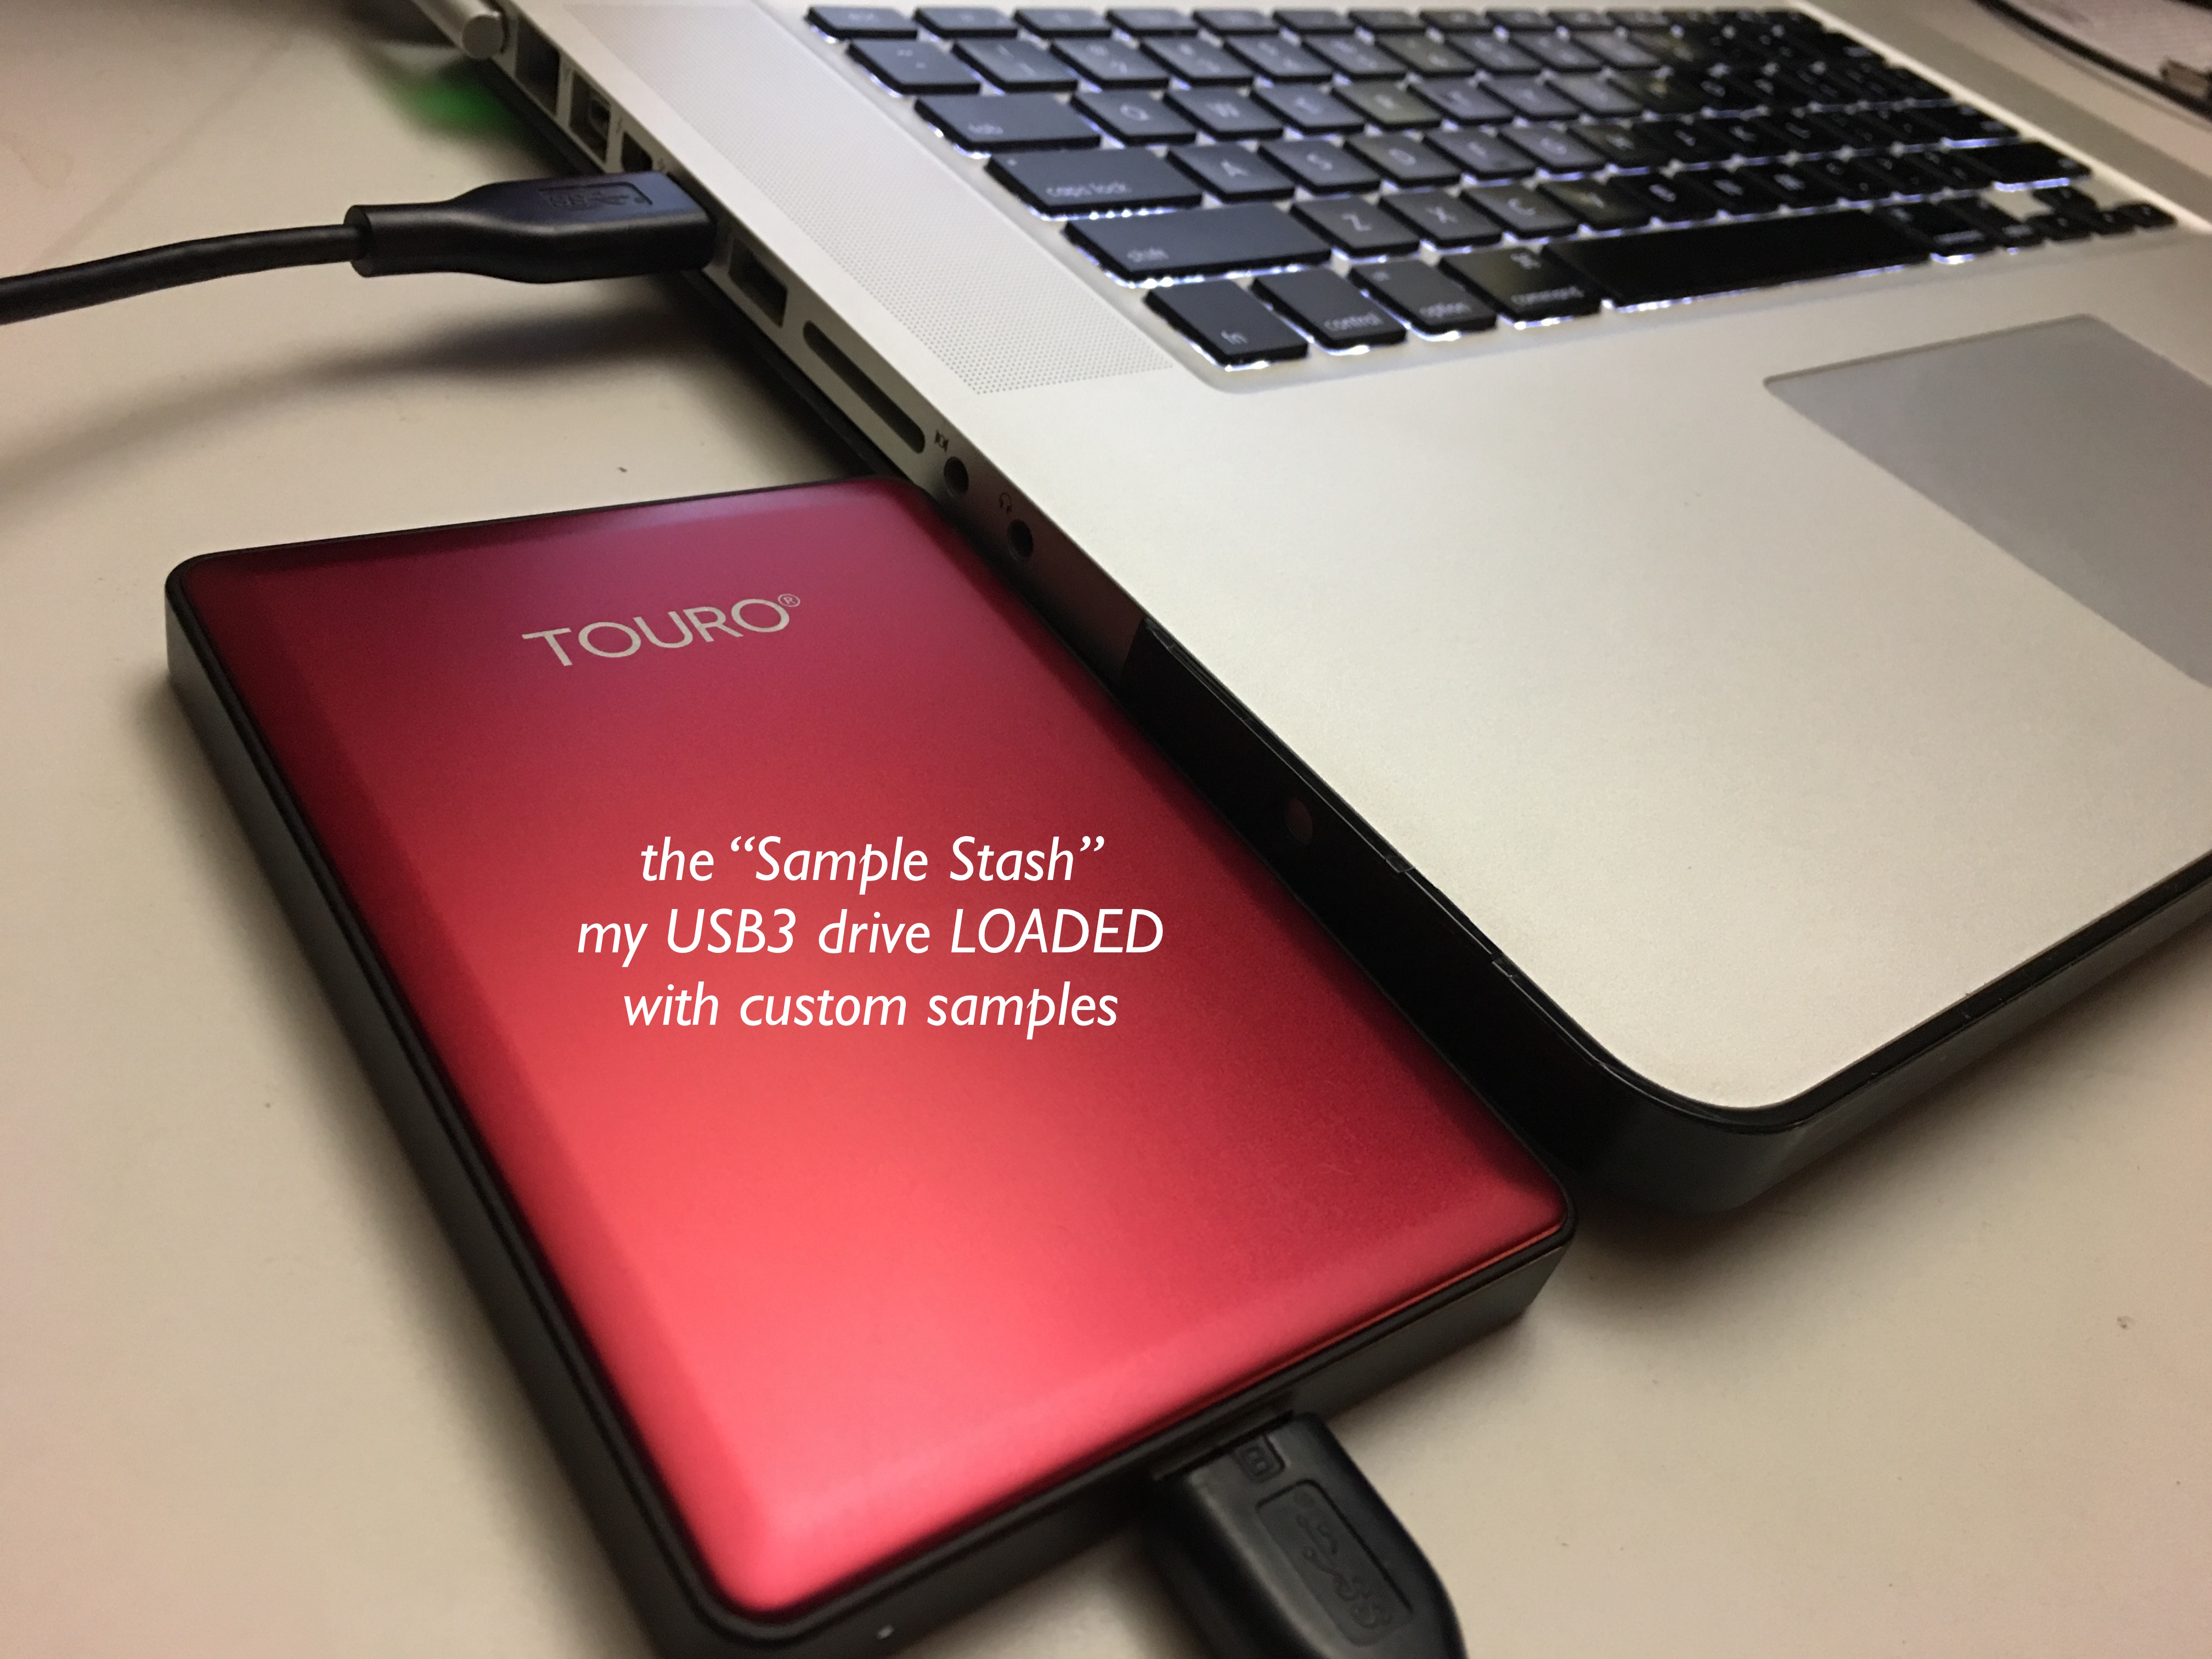
I have a number of sample packs that I've collected, and I continually acquire more. Because I'm in and out of different Macs and different studios every day, I keep my sample libraries on an external USB3 hard drive. I'll need to get the samples I want to use from that drive and into BeatHawk. To do that we'll use iTunes File Sharing to do the trick. I'll be importing the samples from the external drive, so I have it connected and ready to go.
I'll need to connect the iPad with a Lightning cable and launch iTunes. In iTunes you'll want to select your iPhone or iPad and scroll down to select Apps. Once the Apps browser is open you'll scroll the window down to the File Sharing window. In the Apps column you can scroll to find the app you want to drop the samples into, in this case we're looking for BeatHawk. Select it, and you'll see the existing accessible folders in the app in the BeatHawk Documents window on the right.

Now I'll open my external drive and drag a folder (TS 1993 - a sample collection from IWantThatSound.com) from the drive into the open BeatHawk Documents window. Once the folder finishes copying I can click Done and build my custom drum kit in BeatHawk.
 Now open the BeatHawk app. We're going to take a quick minute to build and SAVE our kit in BeatHawk because: 1) it's easier to build it in BeatHawk than it is through building it in GarageBand with BeatHawk in AudioUnit Extension mode, & 2) we can save our kit, which makes loading it in GarageBand with BeatHawk in AudioUnit Extension mode easy.
To start we'll create a new project by clicking the Main Menu button and selecting New Project from the drop down menu. Then open the Browser.
With the Browser now open, select the User Library tab. In the next column to the right, I'll open the TS 1993 folder and the next column to the right shows the contents of the folder.
Depending on the folder structure and contents you that you shared in iTunes, this next step might be different. I'm selecting "ONESHOTS" because I'm only interested in single drum samples for this next step. In ONESHOTS I'll select Kicks > Kicks Dirty Vinyl and see what's available.
BeatHawk will audition each sample when you touch the file. I'll select Kick Vinyl 12.wav, then I have to select a cell in the Cell Selector in the upper right-hand corner of the app. (I'm selecting the C1 bottom left corner.) Now select the LOAD button. The Kick Vinyl 12 sample is loaded and ready to play in the bottom left corner C1 cell. I'll repeat this process to load other samples into the 16 pads.
When you're done loading samples, you may want to change the pad's settings for some performance values. Since we're using these drum sounds as One-Shots, we want the full decay of the sample to play out, so select each pad and in the Parameters window we'll change each pad to One-Shot by clicking the One-Shot button.
When One-Shot is enabled, the jamstik+ sends a MIDI Note On the sample will play all the way to the end instead of cutting off when we release our finger from the string. (Unless you're into that sort of thing, in which case you can leave One-Shot off.)
Other parameters in the Parameters window that might come in handy include Gain, Pan, Pitch, LowPass Filter, and sends to the Reverb and Delay. You can also assign the Choke Group which is handy for samples that you want to keep the decays from overlapping each other - like HiHats. I'll assign our two HiHat samples to Choke Group 1, so the Open Hat decay gets cut when the Closed Hat is played.
Once you have everything set in BeatHawk. you'll want to save your settings and samples as a Project. In the Main Menu, you'll find the Save Project selection, where you can save everything as a project. Now when we open GarageBand we can recall everything just like we did earlier, but now you have sounds from your own sample library ready to go. In the top right corner, you'll see the BeatHawk logo, select it and a load menu will appear. Select "Load Project/Kit..."
Your selection options will change, and this time we'll select User Library > Projects > and the project we just saved in Beat Hawk. (I named my Project "ThatSound Kit for GarageBand.") Now select LOAD KIT in the top bar. Once loaded you're ready to go like we did in the first example.
Like I mentioned earlier, the really great thing about using BeatHawk (or a different AudioUnit Extension enabled app) is that all of the great GarageBand MIDI editing features are all still available to tweak and perfect your track AS MIDI. With InterApp Audio you'd have to slice and align a performance to quantize it, and transposing audio would really be a pain should you need to do it later.
AudioUnit Extensions can seriously improve your GarageBand game with very little effort once you learn how to integrate it into your workflow. No longer are you trapped into using GarageBand's drum sounds or exporting audio out of some other drum sampling app. If you're not already using BeatHawk, I'd strongly encourage you to check it out. The In-App sample pack purchases are fantastic and they might have everything you're looking for without having to build your own. But if you've already got custom sample packs, use iTunes File Sharing to build custom kits in BeatHawk and slay those beats with your jamstik+!
Sincerely,
Chris Heille @drewchowen


Share:
Generating tablature and notation with the Jamstik and Guitar Pro!
Was the jamstik+ on Shark Tank?