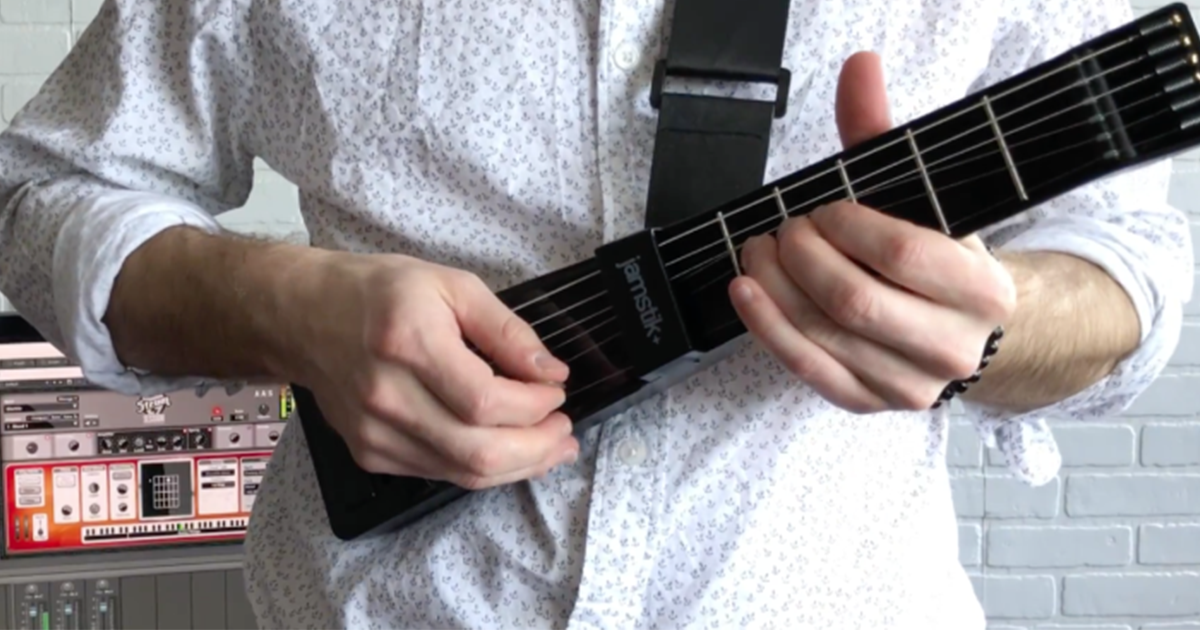
Navigate around the fretboard using the D-Pad
The Jamstik was designed to fit in your backpack to be travel-friendly, but it doesn’t mean you’re limited to a five fret note range! The D-Pad can remap the Jamstik’s MIDI note output in real-time.
Remap in octave steps using the Up and Down buttons.
- Octave Switching: D-Pad Command UP or DOWN
Remap in chromatic steps using the Left and Right buttons.
- Virtual Capo: D-Pad Command LEFT or RIGHT
Reset to default range by pressing Left and Right buttons simultaneously.
- Soft Reset: Combo Command LEFT & RIGHT
Single Channel versus Multi-Channel
When working with virtual instruments, you may find it appears as if the jamstik+ is only working on one string, the high E. Don’t panic. Your jamstik+ isn’t broken, and neither is the virtual instrument or your device. It’s likely that the virtual instrument is only recognizing input from MIDI Channel 1.
The jamstik+ defaults to outputting MIDI on channels 1 through 6, with the High E string outputting channel 1, the B string channel 2, the G string channel 3, the D string channel 4, the A string channel 5, the low E as channel 6. This is the most uniform protocol for guitar MIDI controllers, but some software implements MIDI input differently. Some apps treat all incoming MIDI as one input regardless of channel implementation, and some apps even recognize multi channel MIDI input to use it for multitimbral tracking or control. Being able to toggle between these two MIDI output modes on the Jamstik, 6-channel and single channel, will enable the jamstik+ to control whichever protocol any app operates in.
You can also toggle the jamstik+ between 6-channel mode and single channel mode by using the D-pad. Press the Enter + Right button combo to go back and forth between the 6-channel default MIDI mode and Single Channel MIDI mode.
- Single-Channel Toggle: Combo Command ENTER + RIGHT
The Mute Button
The mute switch is on the face of the Jamstik, just behind the bridge. Unlike a real guitar, the Jamstk's strings are already acoustically muted. The Mute Button sends MIDI Note Off messages for all active MIDI notes when pressed.
The Jamstik also mutes active notes in two other ways; by lifting your finger off of a fretted note, or hovering your fingers over two or more frets simultaneously.
In instances where a chord or scale is played with both fretted notes and open strings, you'll find the mute switch very helpful to silence unwanted active open notes.
Tap Mode
The jamstik+ has a playing mode that doesn’t require picking, called Tap Mode. Tap Mode scans the fretboard for fingertip contact and ignores the pick detection completely. Tap Mode can be entered either momentarily by pressing the center Enter button on the D-pad, or UP + DOWN to Toggle Tap Mode On or Off. For a full detailed article on Tap Mode & it’s short-cuts click HERE.
- Tap Mode Momentary: HOLD ENTER & Play with left hand
- Tap Mode Toggle ON/OFF: Combo Command UP & DOWN
String Bend Enable
The jamstik transmits Pitch Bend when any string is bent off of center. Sometimes it’s helpful to turn String Bend off if you find your fretting hand pulls or pushes the strings around enough that stray Pitch Bend messages are being transmitted. To toggle String Bend on or off press Enter and the Left button simultaneously.
- String Bend Toggle: Combo Command ENTER + LEFT
A Few Tips For Optimizing Performance
Bluetooth MIDI performance greatly depends on your PC’s hardware specs & software settings. The Bluetooth refresh rate is rewarded by the operating system not by the controller, but there are some things we can do optimize the experience in software:
Here are a few considerations when using Bluetooth MIDI:
- Reduce your buffer size: I recommend going low as you can for tracking without creating any jitter or popping in your audio output. Start with 128 samples and see how low your machine can handle. For an example on lowering buffer rate, check out this article.
- Distance / Line of Sight - In our tests we found that the best performing scenarios are within line of sight of the device. Any walls or barriers can disrupt this, so if you’re looking to record from the other room you may want to experiment with placement of your device.
- Preserve CPU Processing power - Especially on mobile builds, quit applications not being used.
- Get a quality BLE Dongle if your motherboard does not support Bluetooth 4.0. In our tests, some dongles can perform better than others - we recommend Asus Bluetooth Dongle from Amazon.
With some of these tips and tricks, your workflow will go much quicker using SONAR & jamstik+ as your creation station. Ah, and don’t forget that since the jamstik is a class compliant MIDI controller, all of its buttons can be customized with the MIDI Learn function available (we will save that for another blog post).
Stay tuned for much more from the Jamstik Team & SONAR in the upcoming weeks. If you like what you’re reading- then please share/spread the word! And of course, please post & share your creations on social media! Tag #Sonar #jamstik - we love to see what you are creating and we want to re-post!
Want to stay in the loop? Join the Jamstik Users group on Facebook to connect with Zivix employees and other users!
Happy Playing!


Share:
Jamstik+ & Cakewalk's SONAR is a killer combo in the studio
Expert Advice from Kendrick Lamar's Producer - Use Your iPhone